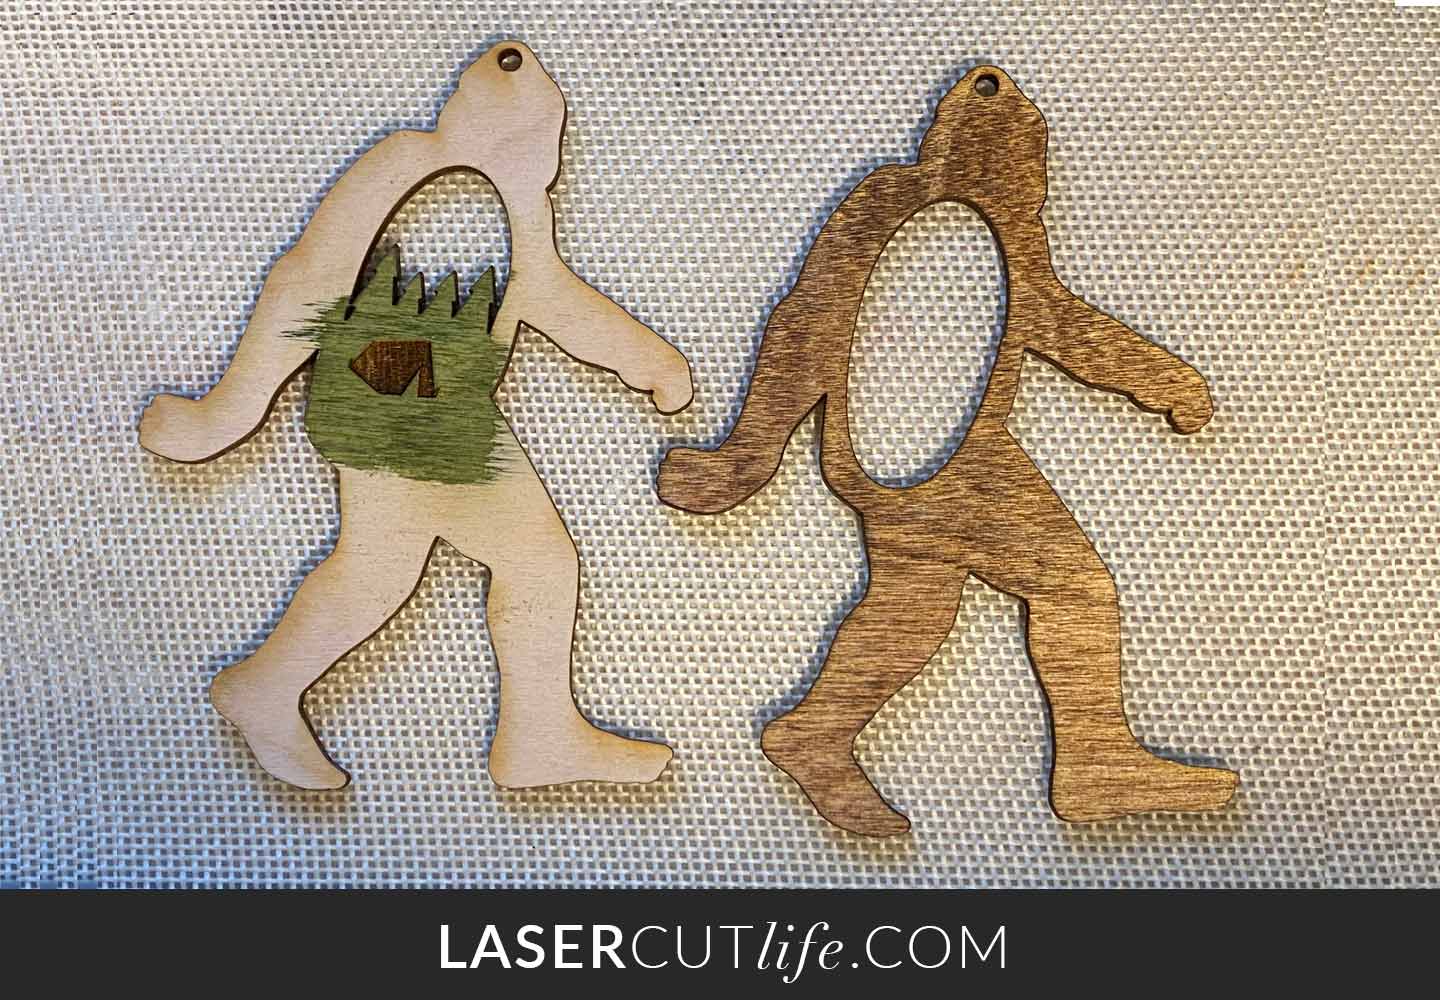
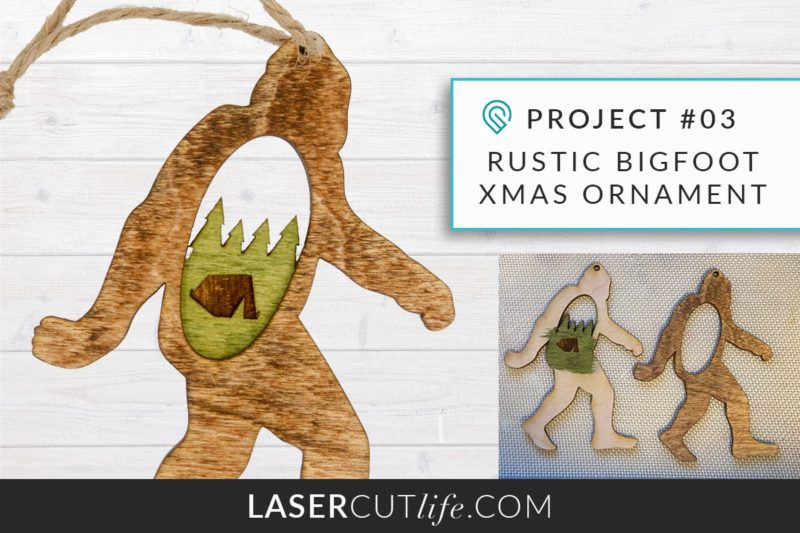
I Believe! Whether you’re a proud PNW’er or you too revere the mighty squatch, this Bigfoot ornament is sure to capture your heart.
Materials
- Glowforge Machine
- 1/8″ Baltic Birch plywood – Unfinished! Not Proofgrade
- 12″ wide Masking material – needed if you don’t like the scorch marks
- Rustic Bigfoot Sasquatch with Pine Trees & Camping Tent Ornament Glowforge Cut File
- General Finishes Water Based Wood Stain, 1 Pint, “Green”
- General Finishes Water Based Wood Stain, 1 Pint, “Medium Brown”
- Devcon Home Weldit High Strength All Purpose Adhesive – Seriously strong & reliable bond!
- 1″ Foam Brush
- 3 ply Natural Jute Twine
- Silicone Baking Mat or Newspapers to protect countertop while staining
Instructions
- Purchase & then Download file Rustic Bigfoot Sasquatch with Pine Trees & Camping Tent Ornament Glowforge Cut file from Etsy.
Optional: Edit .EPS file in Adobe Illustrator if you want to engrave a name, or town on the top layer underneath the trees. Outline text. Save as a new SVG. - Upload svg to Glowforge App
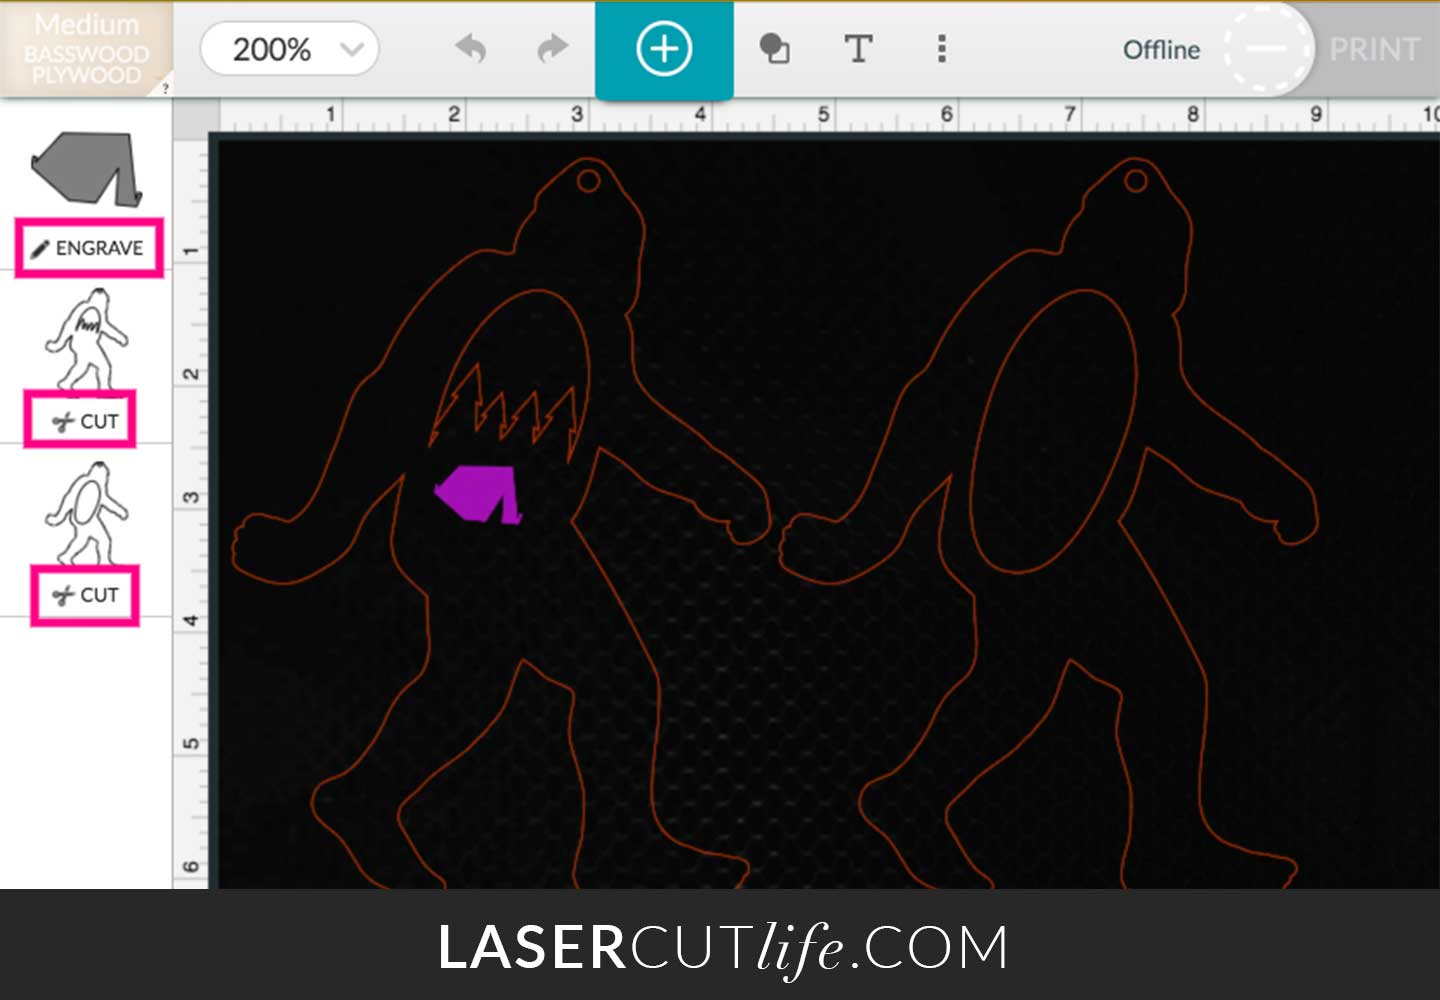
- Adjust settings in Glowforge App as follows:
– Select Material: Medium Basswood Plywood works with my preferred Baltic Birch mentioned in the above Materials list. Test yours if not using the same.
– Bigfoot w/Trees layer: Cut > Proofgrade Cut
– Bigfoot Top layer: Cut > Proofgrade Cut
– Optional Engrave layer: Engrave > Draft Graphic
. - Load 1/8″ Baltic Birch Plywood 12″x20″ sheet into Glowforge.
*Mass Production Tips* If making A LOT of these, it helped me tremendously to assembly line the fabrication. I separated the top and bottom cut layer and duplicated them to fill the entire workspace. I then pre-stained each plywood sheet, Medium Brown for the top, Green for the bottom layer. Then I loaded the pre-stained plywood sheet for each layer’s cut. - Cut Layers – Cut Top Layer. Load another sheet, then Cut Bottom Layer. Set Aside. *Note* I don’t clean off my scorch marks because I like the rustic look it gives my ornaments. If you want to clean them off, either use 12″ wide Masking material to cover the entire sheet before cutting, or clean each piece after cutting with Rubbing Alcohol.
- Stain Layers if you did not already pre-stain your plywood sheets. I only apply stain where it will be visible – this saves a lot in stain and gives me more wood to wood contact for gluing.

Test your chosen colors, I used Medium Brown for the top layer variation & Green for bottom layer – links above, on a waste wood piece. Apply the stain, then Leave the stain on for 1 second, then 15 on another spot, then 30 seconds on a third, and so on.. then wipe away stain with a papertowel. Choose the desired color intensity’s time and then use for your cut piece. Repeat stain-testing process for each color used to find your desired color effect. Allow to dry at least 2 hours. Before next step. - Glue-up Layers – I’ve gone through soooo many adhesives in all my crafting years – good, bad, and the ugly. For an ornament like this, you want a high-strength adhesive that will dry crystal clear and not take too much fuss in applying it. So far, the best adhesive I’ve used is Devcon Home Weldit High Strength All Purpose Adhesive. It gives you 5min of working time, then sets up within a couple hours, curing fully overnight. Oh and did I mention it’s Crystal clear?!! Yes, it’s my go-to adhesive for wood to wood intricate projects.
Test-fit the top and bottom layers together so that you have a rough idea of where the layers overlap. This is where you’ll apply the glue. Apply glue to the bottom layer. Spread evenly. A small paint brush helps.
Find some evenly sized plywood scrap pieces. Line-up ornaments in a row, as many as will fit beneath one of those plywood scraps, then set that plywood scrap piece on top of the ornaments. Apply a large heavy book atop the plywood scrap. Allow to dry this way overnight.
*Mass Production Tips* Continue gluing ornaments together, then adding another layer to dry on top of your previous layer, then another scrap layer, and so on and so on, till you have a drying tower. Once finished, then apply the large heavy book on top and dry overnight. Careful not to stack too high, you want the book’s weight to be supported. - Tie on Hanger – Using 3 ply twine, plain old garden variety works well, cut a 6 inch piece. Insert one end through a hole, then tie a double square knot at the top.

