
Learn the basics for creating a simple SVG laser cut file in Adobe Illustrator that can then be cut with your Glowforge Laser Cutting Machine.
SVG files (also known as Glowforge Cut files) are one of my favorite things to create, oh the possibilities! But for what seemed like forever, I didn’t know how to make them. I was dependent on using other people’s laser cut files from Etsy and quickly got frustrated when I couldn’t find exactly what I needed. Now that I know how to create them, I want to share with you so that you too can create your own SVG cut files.
We’ll start with a simple design to learn the basics of creating SVG files in Illustrator. Adobe Illustrator can be intimidating to first-time digital-creators, so let’s begin with something easy – a word: hello
What is an SVG Laser Cut File?
I assume if you’re reading this post you already know that Glowforge can only read SVG & PDF Vector files. The majority of all laser-ready cut files are created in the SVG file format. Cut files are SVG files formatted in a certain way that Glowforge can read it. Just know that the file will not lose quality when increased in size – meaning your details will be crisp at 2 inches or 24 inches high. Is every SVG file created equal? No! SVG files for Laser Cuts are set up differently than those for Vinyl cutters. Best to look for those designers that sell their work as Laser Cutting Files, or better yet, read on and design your own!
What Software is used to Create Laser Cut SVG Files?
Adobe Illustrator and Inkscape are the top two used for designing Laser-cut files. Illustrator is paid and very feature-rich, while Inkscape is free and not as robust. Both will serve you well for creating SVGs and it will come down to personal preference or cost. Illustrator is $20.99 / month [Student & Educator Discount avail]. Learn more about other Glowforge Cut File Software options. For this tutorial, you will need Adobe Illustrator. It is an investment but I highly recommend it if you are serious about creating laser-cut SVG files. Illustrator does offer a Free 7-day trial to evaluate the features before signing up.
How to Create a Word SVG Cut File Using Illustrator

I am working on a Mac, but I will also give the PC commands. I am a HUGE fan of keyboard shortcuts, they save me a ton of design time. I will share those in [brackets]. For example: [ cmd/ctrl+N ] translates to press the ‘command’ key and the ‘N’ key for Macs, whereas on a PC you’ll press the ‘control’ key and the ‘N’ key.
NOTE: the layout of your workspace might be different than mine—I have found the menus that work best for me. If you don’t have a panel that I reference, go to Window and scroll down to find it, making sure to look in sub-menus if necessary.
Tools
- Adobe Illustrator
Instructions
- Open up Illustrator and click “Create New” [ cmd/ctrl + N ]
Click on the 'Create New' button on the left, or click on 'File' in the top menu bar and then 'New'. Set the Width to 20" and the Height to 12", then the units to 'Inches' to match the size of your Glowforge cutting area. Click the 'Create' button in the lower right-hand corner when done.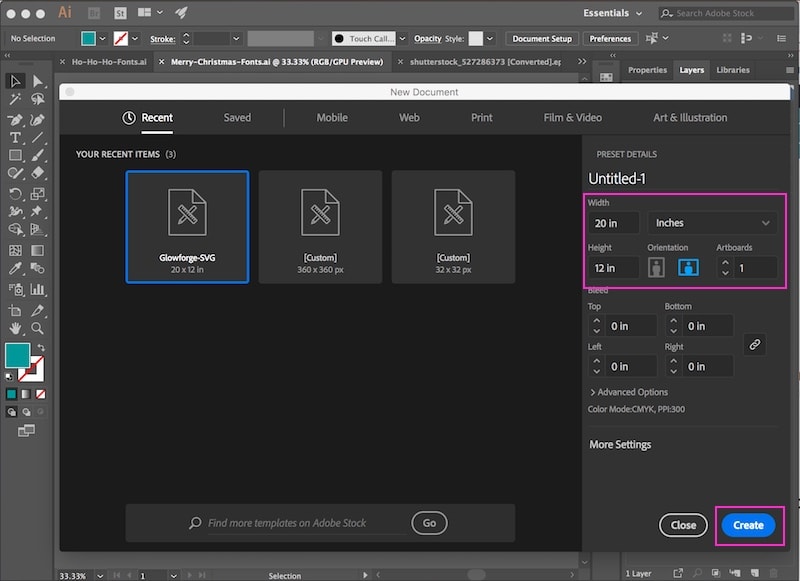
- Add your Text [ T ]
Click on the 'T' icon in the left-hand panel for the Type Tool and then click on your workspace area where you want the text to go - the large white rectangle area. Now type your word(s), for this example, 'hello'.
If you have multiple lines of text, I recommend putting each line as a separate box so you can easily adjust each line as needed. Depending on what your font is already set to and size, it may be really small and bland looking.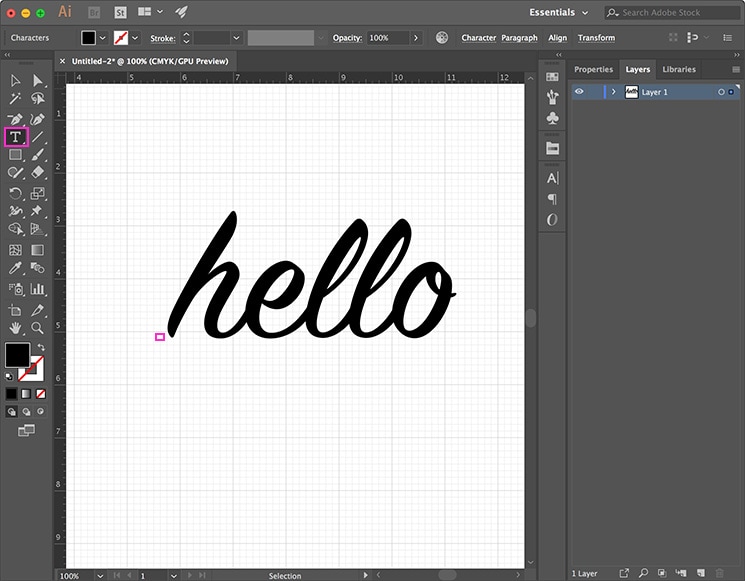
- Change your Font
Double Click on the word then on the 'A' icon in the right-hand panel for the 'Character' box to show. Don't see it? Click on 'Window' then 'Type' then 'Character'. You can now set the font to your preferred style. I set the size very large here initially so that I can see it easier for the next steps. For this example, I’m going to use SignPainter. If you like script fonts, one of my favorites is Miss Magnolia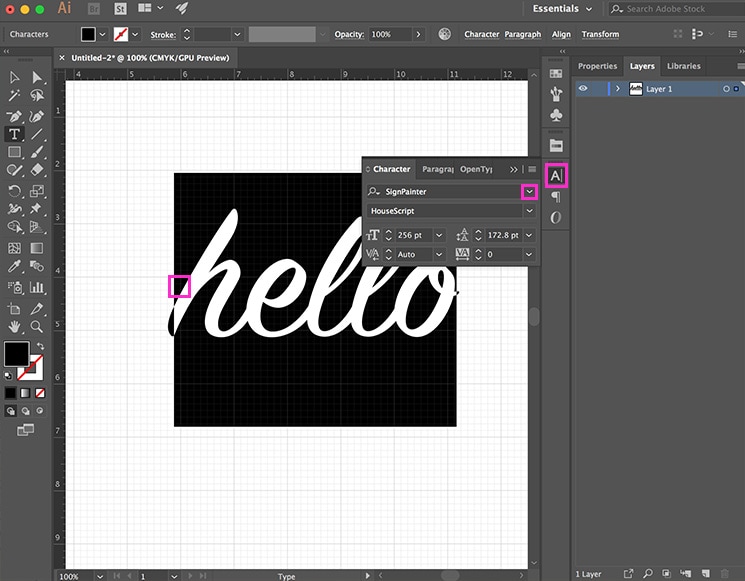
- Outline your Text [ shift+cmd+O / shift+ctrl+O ]
The next step is super important! This basically turns them from text into vector shapes. It allows the file to be opened on computers that don’t have the specific font installed.
You must outline your text or the Glowforge App will not be able to read them. After you outline your text, you can no longer edit it (change letters, etc.) so make sure to have it exactly the way you want it before you outline it.
Click 'Type' in the upper menu, then 'Create Outlines'.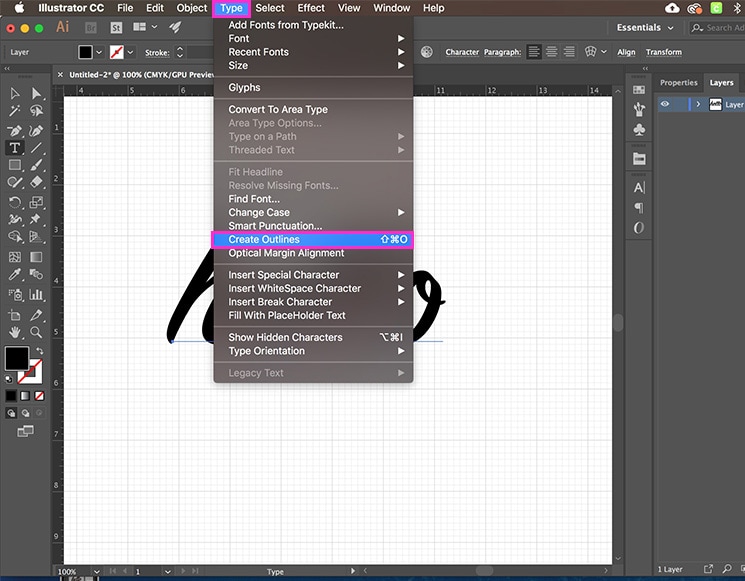

- Unite your Text [ shift+cmd+F9 / shift+ctrl+F9 ]
This is optional. If you have a non-cursive font, you do not have to do this step. If you are using a cursive font, select the text with the direct selection tool and click WINDOW>PATHFINDER >UNITE.
This will unite all the text together. If you skip this step with a cursive font, the font will be cut out as separate letters and not as one continuous piece. You can see in the above screenshot that the blue outlines of the letter tails overlap each other. See the boxed pink squares. To make each word one single shape, you’ll use the Unite tool under the Pathfinder Panel.
The Unite tool is the first top left option under Shape Modes (if you hover over each button, it will tell you what they are). Make sure all of your text is selected in the 'Layers' panel will all blue dots, and click the Unite option. You’ll see that the tails of each letter are gone and you now have one continuous shape.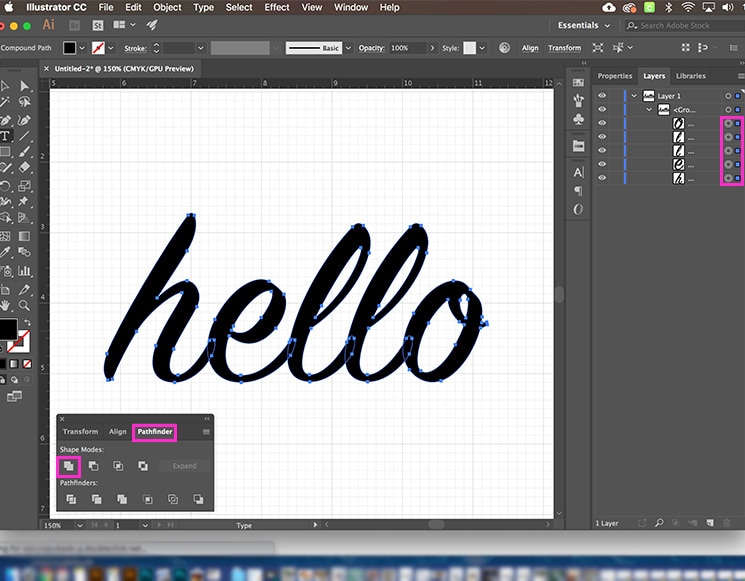
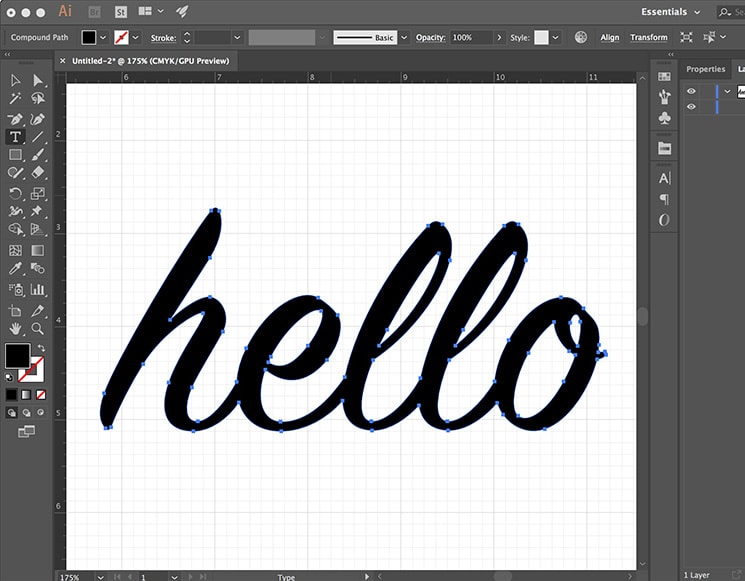
- Save As An AI & SVG [ shift+cmd+S / shift+ctrl+S ]
I save all design files I create two times, as an Adobe Illustrator .AI file and as an .SVG file for cutting. That way you'll always have your editable master .AI file in case of mishap - which happens!
Click on 'File' on the top menu and then 'Save As'. A pop up will appear.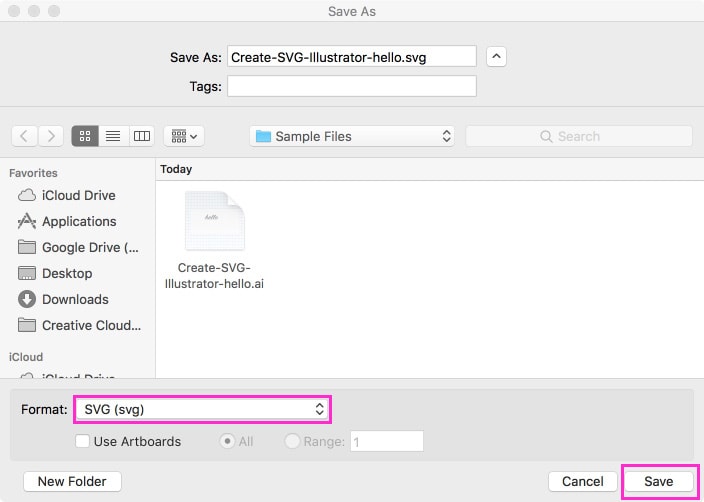
Congrats! You now have an SVG file that you can open in the Glowforge App. Now upload your newly created SVG file to Glowforge, adjust the size if needed, and cut away.


